
- Thank you for purchasing
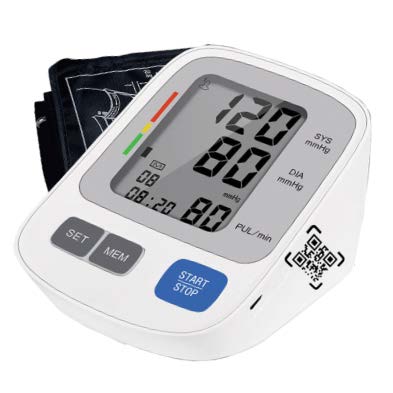
 @ Yourpal Fully Automatic Upper Arm Digital Blood Pressure Monitor.
 - The device uses the oscillometric method of blood pressure measurement. It means the device detects the movement of your blood through your brachial artery and converts your blood pressure: into a digital reading. An oscillometric monitor does nol need a stethoscope, hence the device is simple to use.
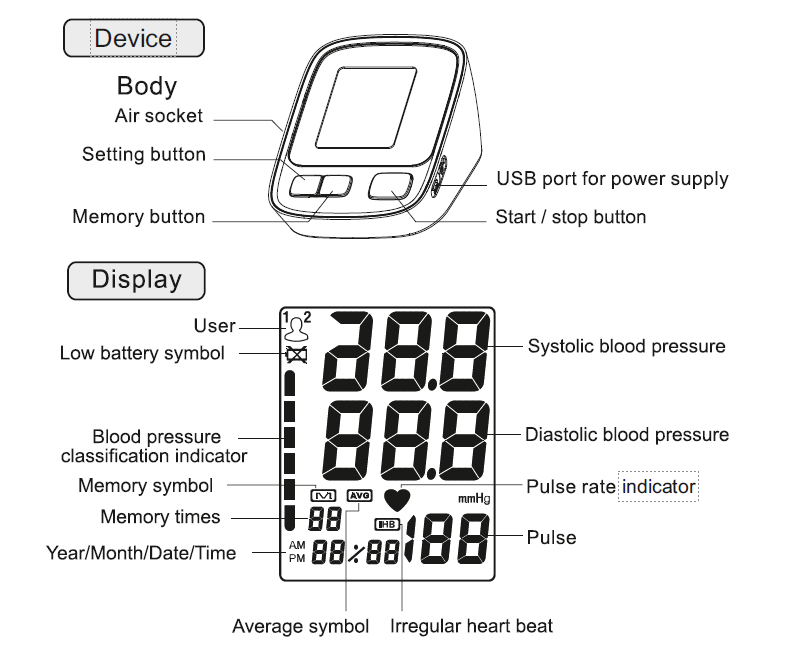
- The device could measure the systolic pressure, diastolic pressure and pulse. The components included in the box are the body. cuff and printed instruction manual. However, batteries are optional. The device is intended to be used by adults only.
- Intelligent inflation reduces the uncomfortable feeling by incorrect inflation, and shorten the measurement time, prolong the cuff’s usage lifetime.
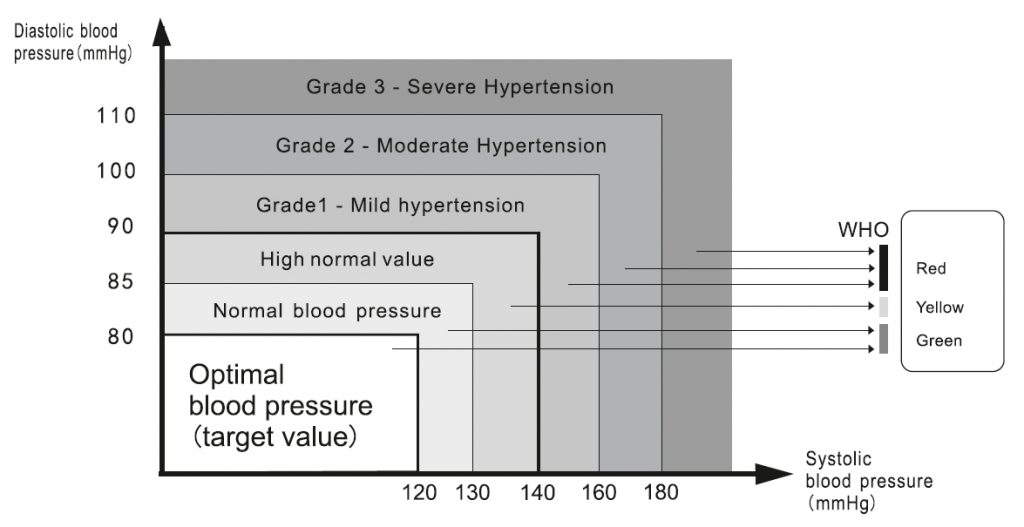
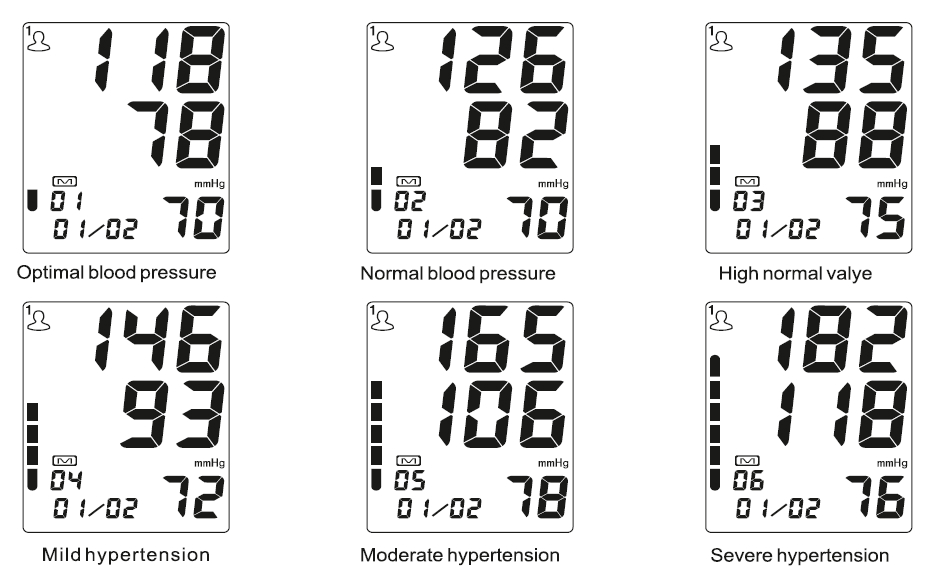
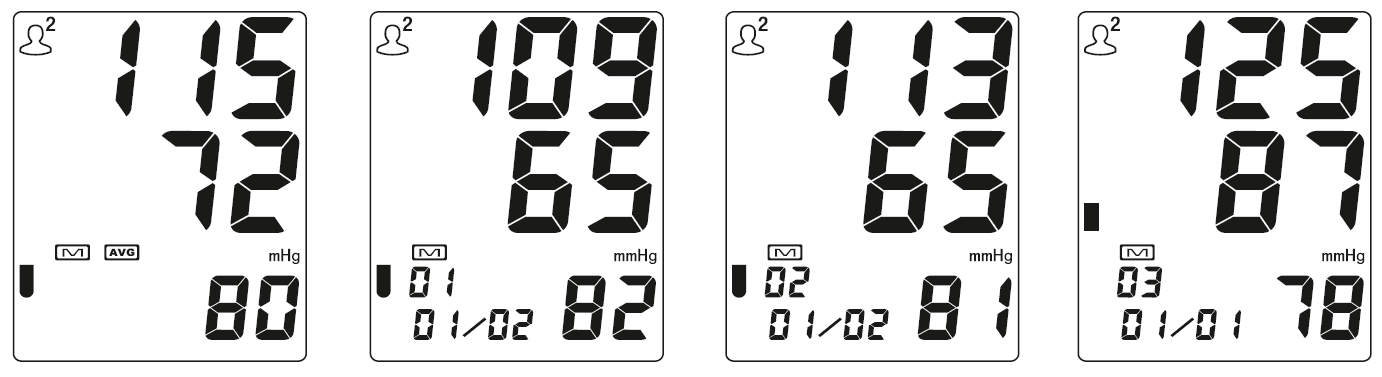
- The device stores automatically 2×99 sels of measurement value and each measurement result will be displayed on the screen. The stored data can be read conveniently by pressing the memory button. This device has biood classification index which helps to easily check your blood pressure
- Please read the instruction manual carefully before using the device, and keep the manual well after using it


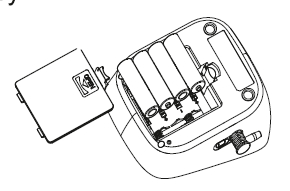
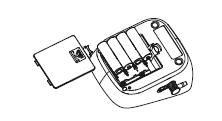
Low battery and Replacement
- When power on, if the low battery symbol “
 ” appears on the device, immediately replace the old batteries with new batteries otherwise the unit will stop working. Do not mix the old and new batteries.

|


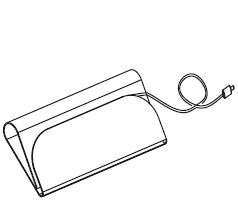
- Keep the device in the storage case when not in use.
- Clean the device with a soft dry cloth.
- Do not use any abrasive or volatile cleaners.
- Never immerse the device or any component in water.

- Make sure the monitor is off prior to cleaning, a mixture of distilled water and 10 percent bleach could be used.
- When using a spray bottle, moisten a soft cloth towel with the bleach or detergent mix until it is fully saturated. Squeeze any excess moisture from the cloth to avoid any dripping or potential | over saturation of the cuff.
- Wipe all surfaces of the cuff thoroughly. Make sure to clean the inside and outside of the cuff. Be cautious not to get any moisture in the main device.
- Use a dry cloth and gently wipe away any excess moisture that may remain on the blood pressure cuff. Lay the cuff flat in an unrolled position and allow the cuff to dry.
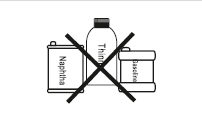
Do not
clean the body and
cuff with naphtha, thinner or
gasoline etc.
Do not wet the
cuff or attempt
to clean the cuff with water.
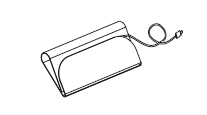
Store the device
in a clean
and dry location. Don’t subject
the device to extreme hot or
cold temperature, humidity
and direct sunlight.
Remove the
batteries if the
device will not be used for 3
months or longer.
We won’t
be
responsible for any quality problem if you don’t
care and maintain the product as instructed.